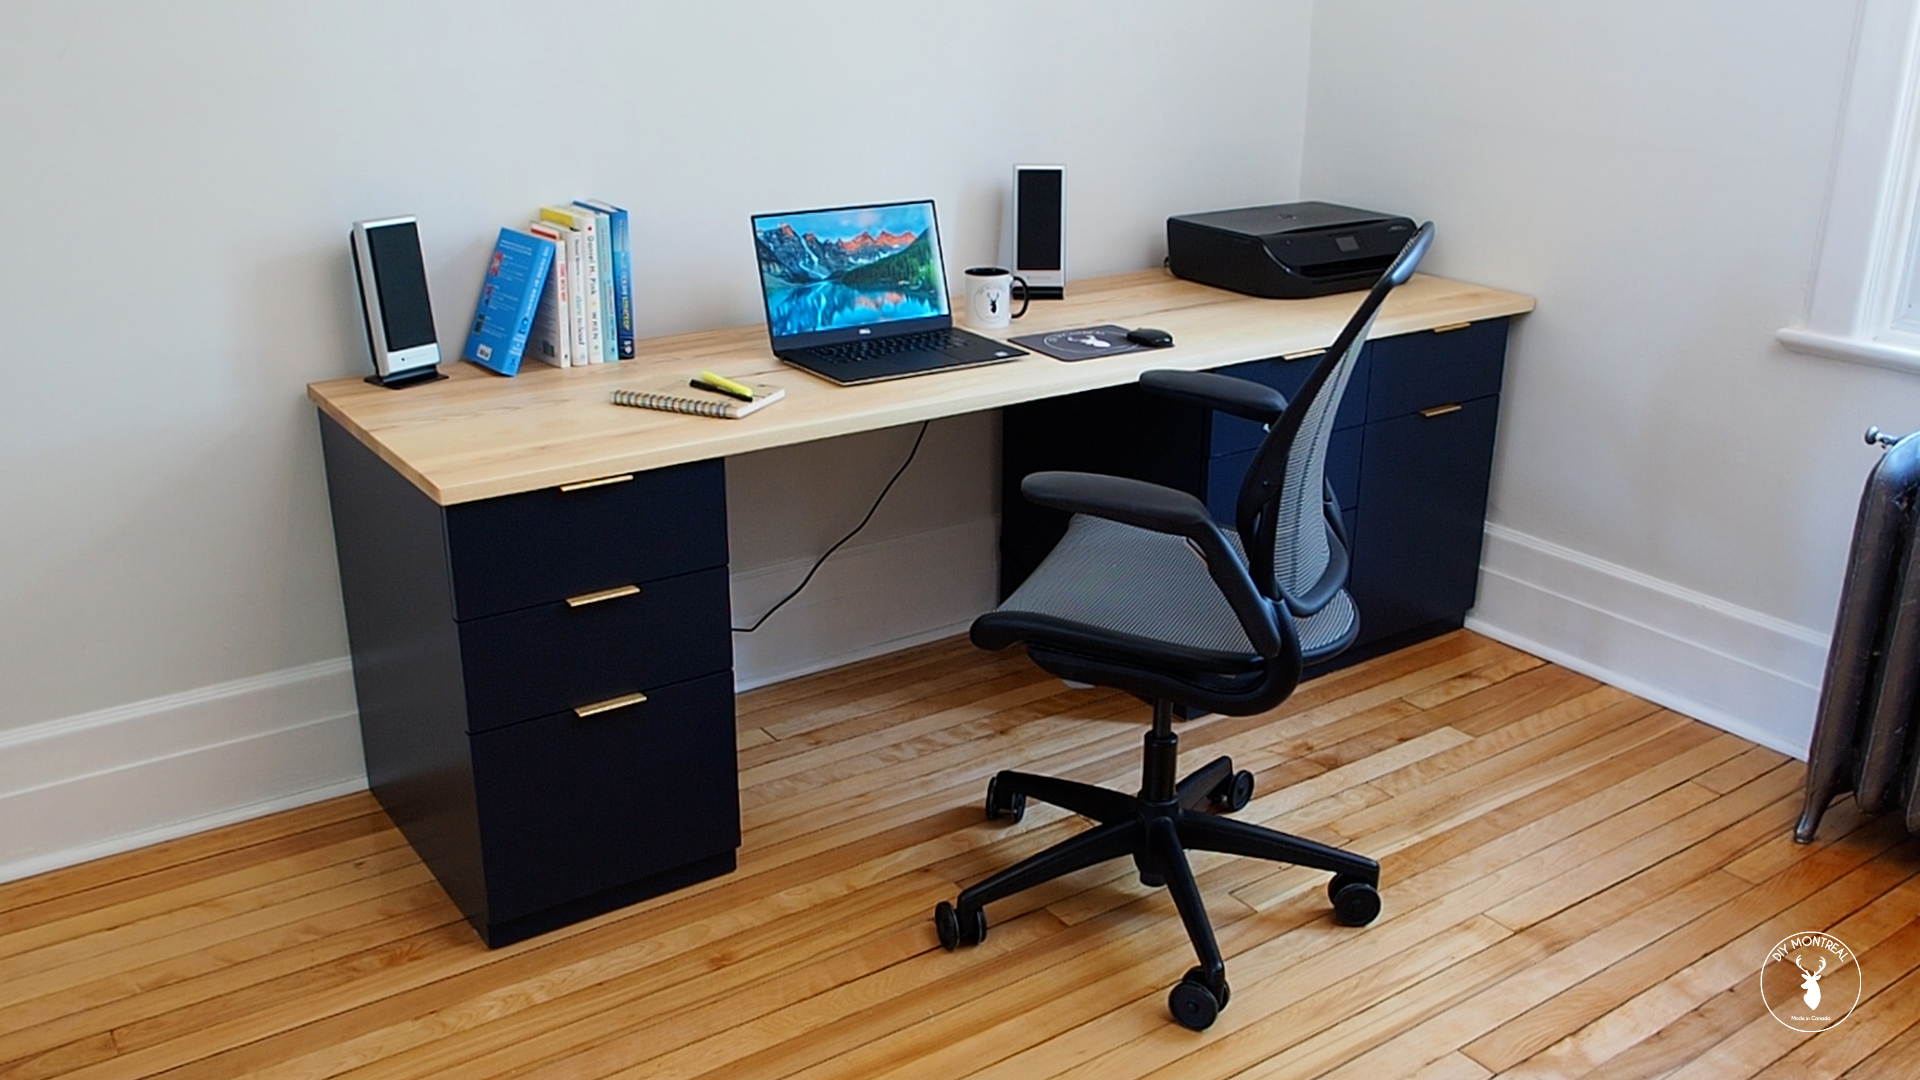
Craft a Unique Wooden Desk with Geometric Designs
Step into a world where functionality meets artistry, and create a wooden desk that reflects your personal style and elevates your workspace. This project isn't about simply constructing a surface; it's about crafting a statement piece that speaks to your aesthetic sensibilities and inspires your creativity. We'll guide you through the process of transforming wood into a geometric masterpiece, using tools and techniques that blend practicality with artistic flair. Let's dive in and unleash your inner designer!
Design Inspiration: Laying the Foundation
Before picking up a saw, let your imagination run wild! Think about the geometric shapes that resonate with you: intricate tessellations, bold angular forms, or subtle curves. Browse online galleries, visit museums, and even take inspiration from nature's patterns. Consider the size and shape of your desk, and how the geometric designs will interact with the overall space. Do you want a dramatic focal point or a more understated elegance? Don't be afraid to experiment with different layouts until you find a design that truly speaks to you.
Tools of the Trade: Gathering Your Arsenal
Equip yourself for success with the right tools. This project requires precision and patience, so invest in quality tools that will ensure accuracy and longevity. You'll need:
- Woodworking saw: A circular saw or a table saw is ideal for cutting the wooden pieces into desired shapes and sizes.
- Router: This tool allows you to create intricate grooves, edges, and details for your geometric patterns.
- Sanding tools: Sandpaper, a sander, and a finishing block are essential for smooth, even surfaces.
- Clamps: Used to secure wood pieces during cutting and assembly.
- Measuring tape and pencil: For marking and measuring your design accurately.
- Wood glue: For bonding the wooden pieces together.
- Finishing materials: Wood stain, varnish, or paint, depending on your desired look and protection.
Building the Foundation: Constructing the Desk
With your design and tools ready, it's time to start building! Choose sturdy wood that complements your design, such as maple, oak, or walnut. Cut the main pieces of the desk frame, including the top, legs, and supports, using your woodworking saw. Remember to consider the thickness and width of your chosen wood for stability and structural integrity. If you're incorporating drawer sections, ensure they are included in the design and cut accordingly.
Crafting Geometric Accents: Transforming Wood into Art
Now, unleash your creativity! Use the router to carve out the geometric patterns into the wooden pieces. You can create simple grooves, intricate details, or even raised panels to highlight the design. Remember to use a steady hand and take your time to ensure accurate cuts. If your design calls for multiple geometric shapes, create templates for precise cutting. You can even consider using a laser cutter for a more intricate design if you have access to one.
Finishing Touches: Enhancing Your Masterpiece
Once your geometric designs are complete, smooth out the surfaces with sanding tools for a professional finish. Choose a wood stain, varnish, or paint that complements your design. Apply multiple coats for durability and to highlight the natural beauty of the wood. If you've incorporated drawers, make sure to install them and equip them with handles and sliders. As you assemble your desk, use wood glue to bond the pieces securely and let them dry completely.
Congratulations! You've just crafted a truly unique piece of furniture that blends functionality with artistry. Your geometric wooden desk will be a conversation starter and a testament to your creativity. Sit back, admire your work, and enjoy the satisfaction of bringing your design vision to life!


0 comments:
Post a Comment