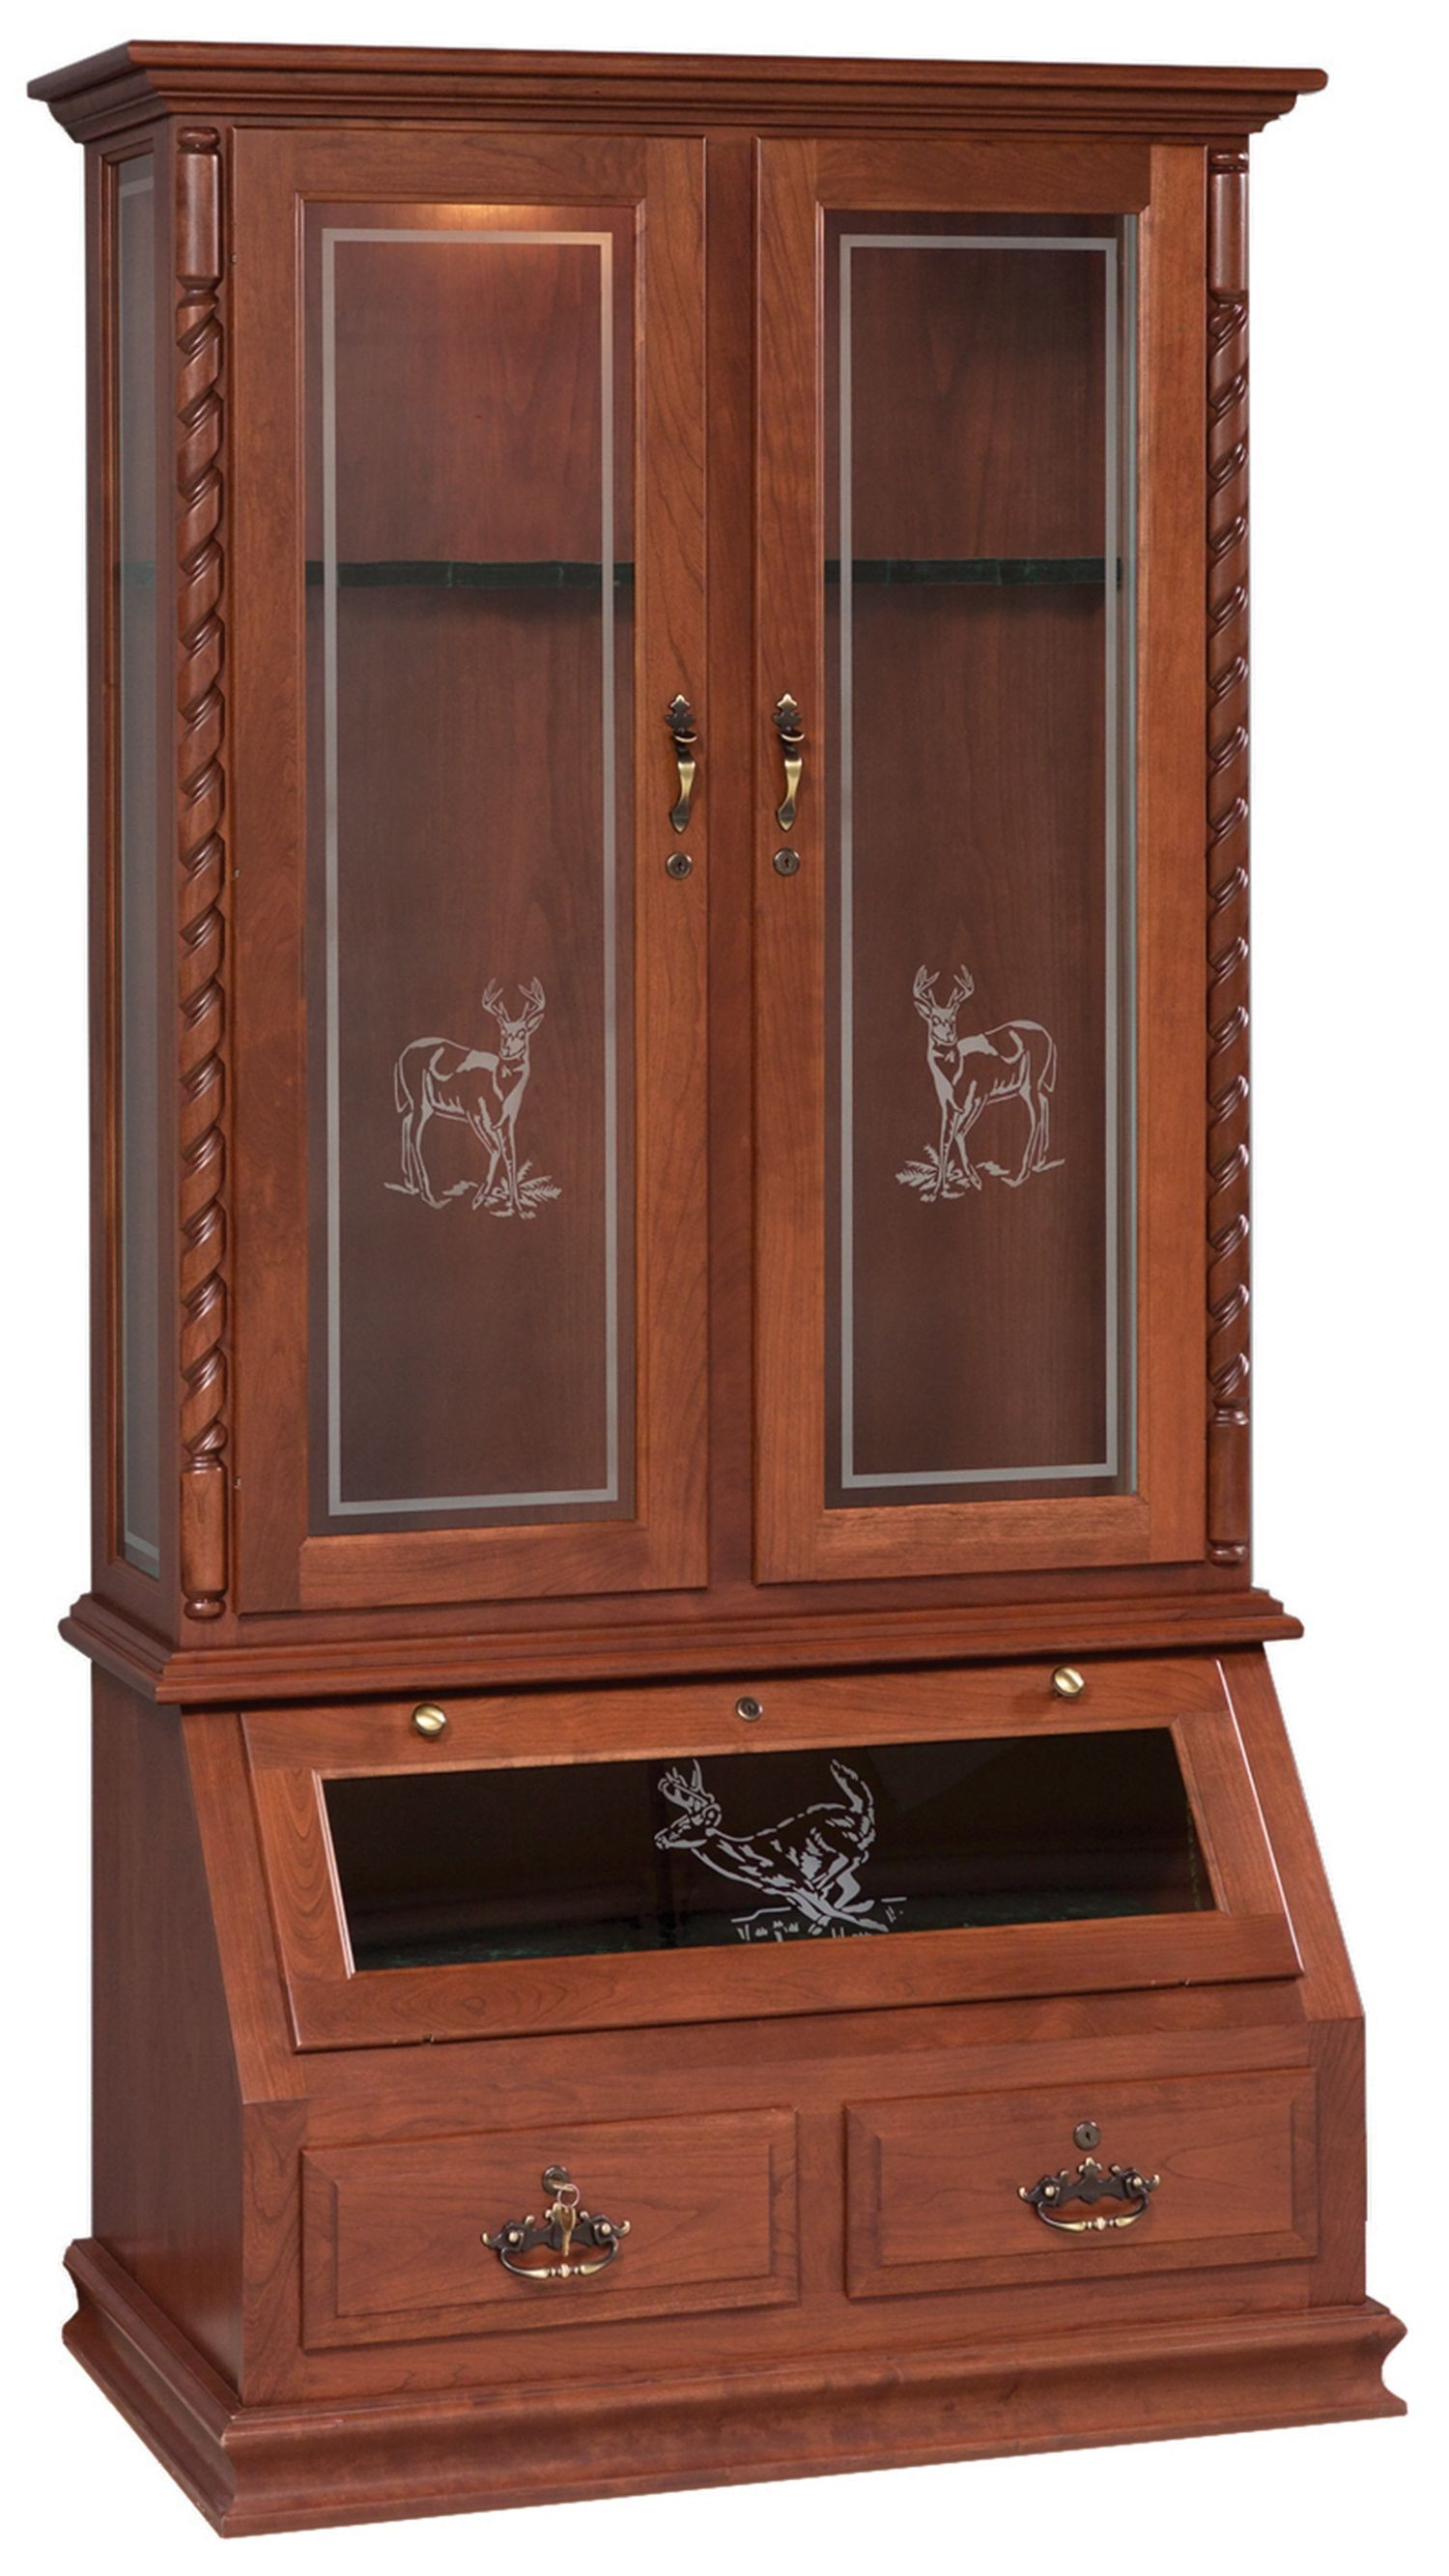
DIY Wooden Gun Cabinet: How to Create a Secure Storage Solution
Hey there, gun owners! You know the drill â€" safe and responsible gun storage is crucial. It's not just about protecting your firearms, it's about keeping everyone in your home, and your community, safe. But let's be real, those pre-made gun safes can cost a pretty penny, and sometimes you just want something a little more personal, a little more "you." Well, guess what? Building a DIY wooden gun cabinet can be a fun and rewarding project, and it's a great way to save some cash while ensuring your firearms are secure.
So grab your tools, let's dive into this project and create a custom wooden gun cabinet that you'll be proud to display.
Planning Your Project: The Foundation for Success
Before you jump headfirst into cutting wood, it's essential to plan your project thoroughly. Here's what you need to consider:
1. Determine the Size and Scope
- How many firearms do you need to store? This dictates the width and depth of your cabinet.
- What additional items will you be storing? Ammo, cleaning supplies, and accessories will affect the height and number of shelves.
- Where will the cabinet be located? This affects the overall size and the style you choose. A smaller space might need a more compact design.
2. Choose Your Wood
- Hardwoods: Oak, maple, cherry, and walnut are durable, beautiful, and can handle heavy loads.
- Softwoods: Pine and fir are more affordable, but may require additional support for heavier guns.
- Plywood: A cost-effective option for cabinet construction, but may not be as attractive as solid wood.
Remember, the wood you choose will impact both the durability and the overall appearance of your cabinet.
3. Consider the Security Features
- Locks: Invest in a high-quality, tamper-resistant lock with a sturdy deadbolt. Consider adding a secondary lock for extra security.
- Hinges: Choose concealed, heavy-duty hinges that are difficult to remove.
- Reinforcement: Consider using metal plates or thicker wood around the lock area for added strength.
Building the Cabinet: Step by Step
With your plans in place, it's time to get your hands dirty (but not too dirty!). Here's a general guide to building your wooden gun cabinet:
1. Cutting and Assembling the Cabinet Frame
- Cut the sides, top, bottom, and back panels. Use a circular saw or a table saw for precise cuts.
- Join the panels using pocket holes, dado joints, or mortise and tenon joints. Pocket holes are a beginner-friendly option, while dado joints and mortise and tenon offer greater strength.
- Secure the frame with screws, glue, or both. Ensure a strong bond for durability.
2. Adding Shelves and Doors
- Install shelf supports. You can use dowels, shelf pins, or cleats for a sturdy shelf system.
- Cut shelf boards to fit. Ensure they are level and secure.
- Construct the door frame. Use the same techniques as the cabinet frame, ensuring a tight fit.
- Attach the door hinges and install the lock. Choose hinges and a lock that match your security needs.
3. Finishing Touches
- Sand the cabinet smooth. Start with rough grit sandpaper and gradually work to finer grit.
- Apply a stain or paint. Choose a finish that complements your style and the wood you used.
- Apply a clear coat for protection. Polyurethane or varnish will help prevent scratches and wear.
- Install door handles or pulls. Choose something that's both functional and aesthetically pleasing.
Safety First: Making Your Cabinet Secure
Remember, this is a gun cabinet â€" security is paramount! Here are some extra steps to enhance your DIY project:
- Reinforce the door. Add metal plates around the lock area and hinge points.
- Consider a secondary lock. This adds an extra layer of protection. Key locks, combination locks, or even biometric locks can be incorporated.
- Use a heavy-duty lock with a deadbolt. This prevents the door from being easily pried open.
- Secure the cabinet to the wall. Use heavy-duty anchors and bolts to make it difficult to move or remove.
Beyond the Basics: Adding Custom Features
You've built a solid, secure gun cabinet â€" now it's time to make it your own! Here are some ideas to personalize your project:
- Create a custom interior. Design dedicated compartments for different firearms or accessories.
- Add a felt lining. This protects your guns and provides a luxurious touch.
- Incorporate a built-in light. Make it easier to see your firearms and accessories.
- Add a humidity control system. This is particularly important if you live in a humid climate.
The Final Touches: Pride and Ownership
Congratulations! You've successfully built a custom wooden gun cabinet that's both secure and stylish. This project is a testament to your skills and dedication to responsible gun ownership. Enjoy the satisfaction of knowing you created a safe and secure space for your firearms while adding a unique touch to your home.
Remember, always follow local laws and regulations when storing firearms. And if you're not comfortable with any aspect of this project, don't hesitate to consult with a professional. Safety first, always!


0 comments:
Post a Comment