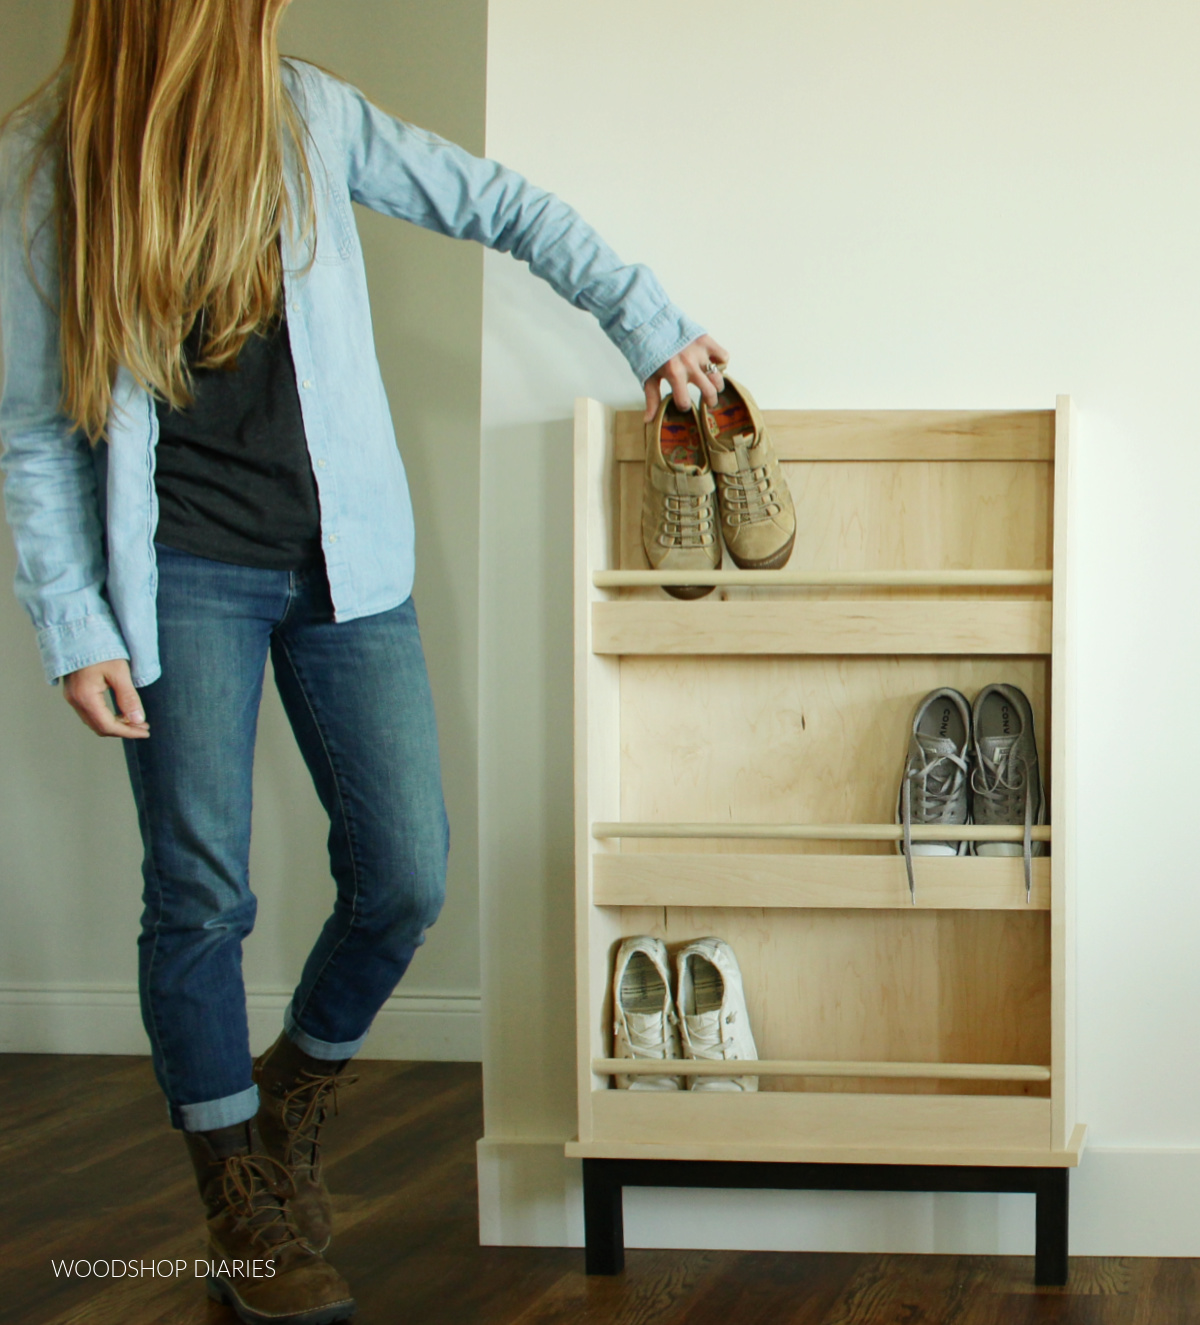
Build a Shoe Rack with a Unique Design That Will Turn Heads
Tired of tripping over shoes scattered across your entryway? Dreaming of a stylish and functional shoe storage solution? Building a unique shoe rack is the perfect way to tackle clutter and add a personal touch to your home. With a little creativity and some basic woodworking skills, you can craft a shoe rack that reflects your style and makes a statement.
Choosing a Design That Stands Out
Forget boring, generic shoe racks. Let's think outside the box and create something truly extraordinary. Here are a few ideas to spark your imagination:
Geometric Shapes
Embrace bold angles and geometric shapes. Consider a hexagonal or octagonal rack, or even a curved, flowing design. Experiment with different materials like metal tubing or reclaimed wood to add a modern edge.
Industrial Chic
Embrace the raw beauty of industrial style. Utilize exposed metal pipes, distressed wood, and vintage hardware. Think open shelving with metal brackets or a reclaimed wood frame with metal mesh panels.
Rustic Charm
Create a cozy and inviting space with a rustic shoe rack. Use reclaimed barn wood, aged metal, or weathered brick for a timeless look. Consider adding a decorative touch with rope, leather, or even repurposed barn doors.
Essential Materials and Tools
Once you've chosen a design, gather the necessary materials and tools:
- Wood (choose sturdy lumber like pine or oak)
- Metal brackets or supports (for shelving)
- Hardware (screws, nails, hinges, etc.)
- Wood glue
- Measuring tape and level
- Saw (circular, jigsaw, or hand saw)
- Drill and drill bits
- Sander (optional, for a smooth finish)
- Stain or paint (optional, for color and protection)
Step-by-Step Construction Guide
Let's get building! Here's a general guide for constructing your unique shoe rack:
- Design and Plan: Sketch out your design and create a detailed plan with precise measurements. Determine the size, shape, and number of shelves you need.
- Cut Wood: Use your saw to cut the wood pieces according to your plan. Ensure all cuts are accurate and square.
- Assemble the Frame: Join the wood pieces together using wood glue and screws to form the basic frame of your shoe rack. Use clamps to secure joints while the glue dries.
- Add Shelves: Attach the shelves to the frame using metal brackets or supports. Ensure the shelves are level and sturdy.
- Finishing Touches: Sand any rough edges, then apply stain or paint if desired. Let the finish dry completely.
- Install and Organize: Place your shoe rack in its designated spot and arrange your shoes. Consider using shoe dividers or organizers to keep your collection tidy.
Personalize Your Shoe Rack
Now it's time to add your personal touch! Consider these ideas:
- Unique Hardware: Use decorative hinges, knobs, or drawer pulls to elevate the design.
- Lighting: Add accent lighting for a dramatic effect. Try LED strips or small sconces.
- Plants: Add a touch of greenery with small plants placed on top of the shoe rack.
- Storage Solutions: Integrate storage bins or baskets for accessories like hats, gloves, or scarves.
With creativity and a little effort, you can build a unique shoe rack that not only serves a practical purpose but also adds a touch of personality to your home. So, get those tools ready, and let your imagination run wild!


0 comments:
Post a Comment